Gain Shell Access To Your Domino Instances
Eduardo Ariño de la Rubia2016-11-09 | 3 min read

Note: Please be advised that direct access to containers via SSH has been deprecated for Domino versions above 4.x. Indirect SSH access via Workspace terminals (e.g. JupyterLab, VSCode etc.) is still available in all Domino releases.
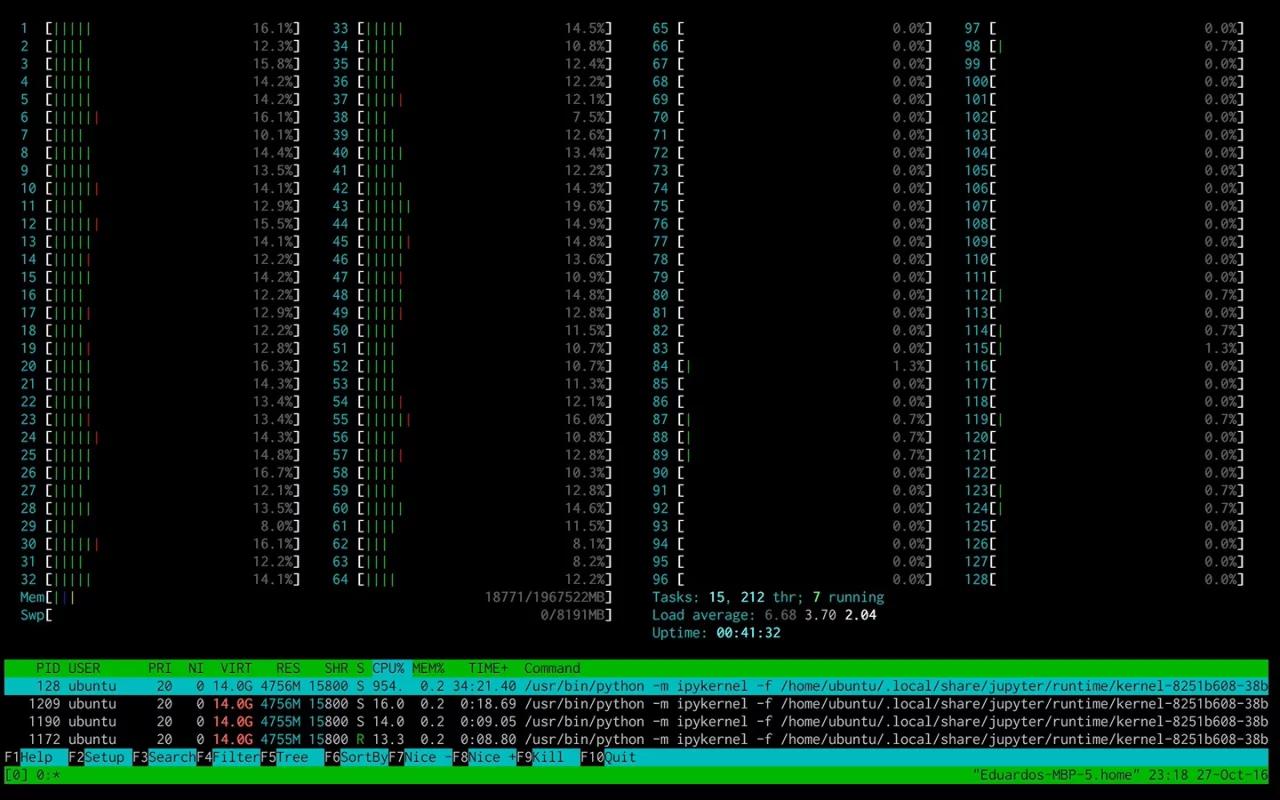
Domino offers a managed, scalable compute environment that provides push-button convenience to data scientists, whether they're interested in exploring data in a Python notebook, or training a model using an R script. While Domino offers many opportunities for teams to customize and share environments, some problems are best solved with shell access. With Domino's latest release, users can do just that.
Once an interactive session has been launched, you will be able to gain access to the running instance using SSH by following the instructions in the Run details. Check out this short video:
1:06
Using SSH
Once you have configured your SSH keys, you can copy this command right into your favorite terminal program, and you will immediately have access to the SSH session running your notebook. Note that this will only work on the machine which has the key you uploaded. If you wish to access Domino from multiple machines, you must upload all of their respective keys.
Configuring SSH
Configuring your account for ssh access is easy with Domino. Navigate to your Account Settings, accessible by clicking on your username in the top right corner of a Domino application page:
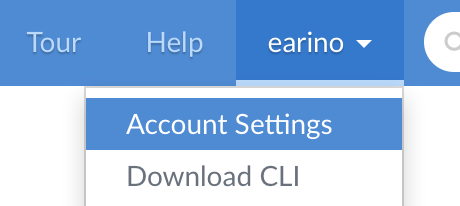
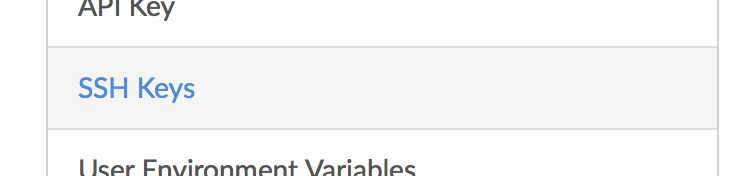
From the Account Settings page, navigate to new SSH Keys configuration section of your account information page.
Adding a new key is easy. Simply find your public key on your own machine. Often this is ~/.ssh/id_dsa.pub or ~/.ssh/id_rsa.pub and copy the contents of this file into the dialog. For example, this is what one of these keys may look like:
$ cat ~/.ssh/id_rsa.pub
ssh-rsa AAAB3nZaC1aycAAEU+/ZdulUJoeuchOUU02/j18L7fo+ltQ0f322+Au/9yy9oaABBRCrHN/yo88BC0AB3nZaC1aycAAEU+/ZdulUJoeuchOUU02/j18L7fo+ltQ0f322AB3nZaC1aycAAEU+/ZdulUJoeuchOUU02/j18L7fo+ltQ0f322AB3nZaC1aycAAEU+/ZdulUJoeuchOUU02/j18L7fo+ltQ0f322AB3nZaC1aycAAEU+/ZdulUJoeuchOUU02/j18L7fo+ltQ0f322klCi0/aEBBc02N+JJP john@example.com
Take that text, copy it into the text box, and remember to give your SSH key a memorable name. You want to be able to remember which keys were on which computers in case you ever need to revoke access. The process should look like this video below.
From the Account Settings screen, you will be able to manage your keys if you ever need to delete one. Now your account is enabled and provisioned with SSH.
Banner image titled “The Metro Reloaded” by NCinDC. Licensed under CC BY-ND 2.0.

Eduardo Ariño de la Rubia is a lifelong technologist with a passion for data science who thrives on effectively communicating data-driven insights throughout an organization. A student of negotiation, conflict resolution, and peace building, Ed is focused on building tools that help humans work with humans to create insights for humans.
Summary
SHARE
Other posts you might be interested in


Subscribe to the Domino Newsletter
Receive data science tips and tutorials from leading Data Science leaders, right to your inbox.
By submitting this form you agree to receive communications from Domino related to products and services in accordance with Domino's privacy policy and may opt-out at anytime.